Easy Guide: Accessing Raspberry Pi From The Internet (Remote)
Ever wondered if you could tap into the full potential of your Raspberry Pi from anywhere in the world? The ability to remotely access your Raspberry Pi unlocks a world of possibilities, turning it from a simple hobbyist tool into a powerful remote deployment solution.
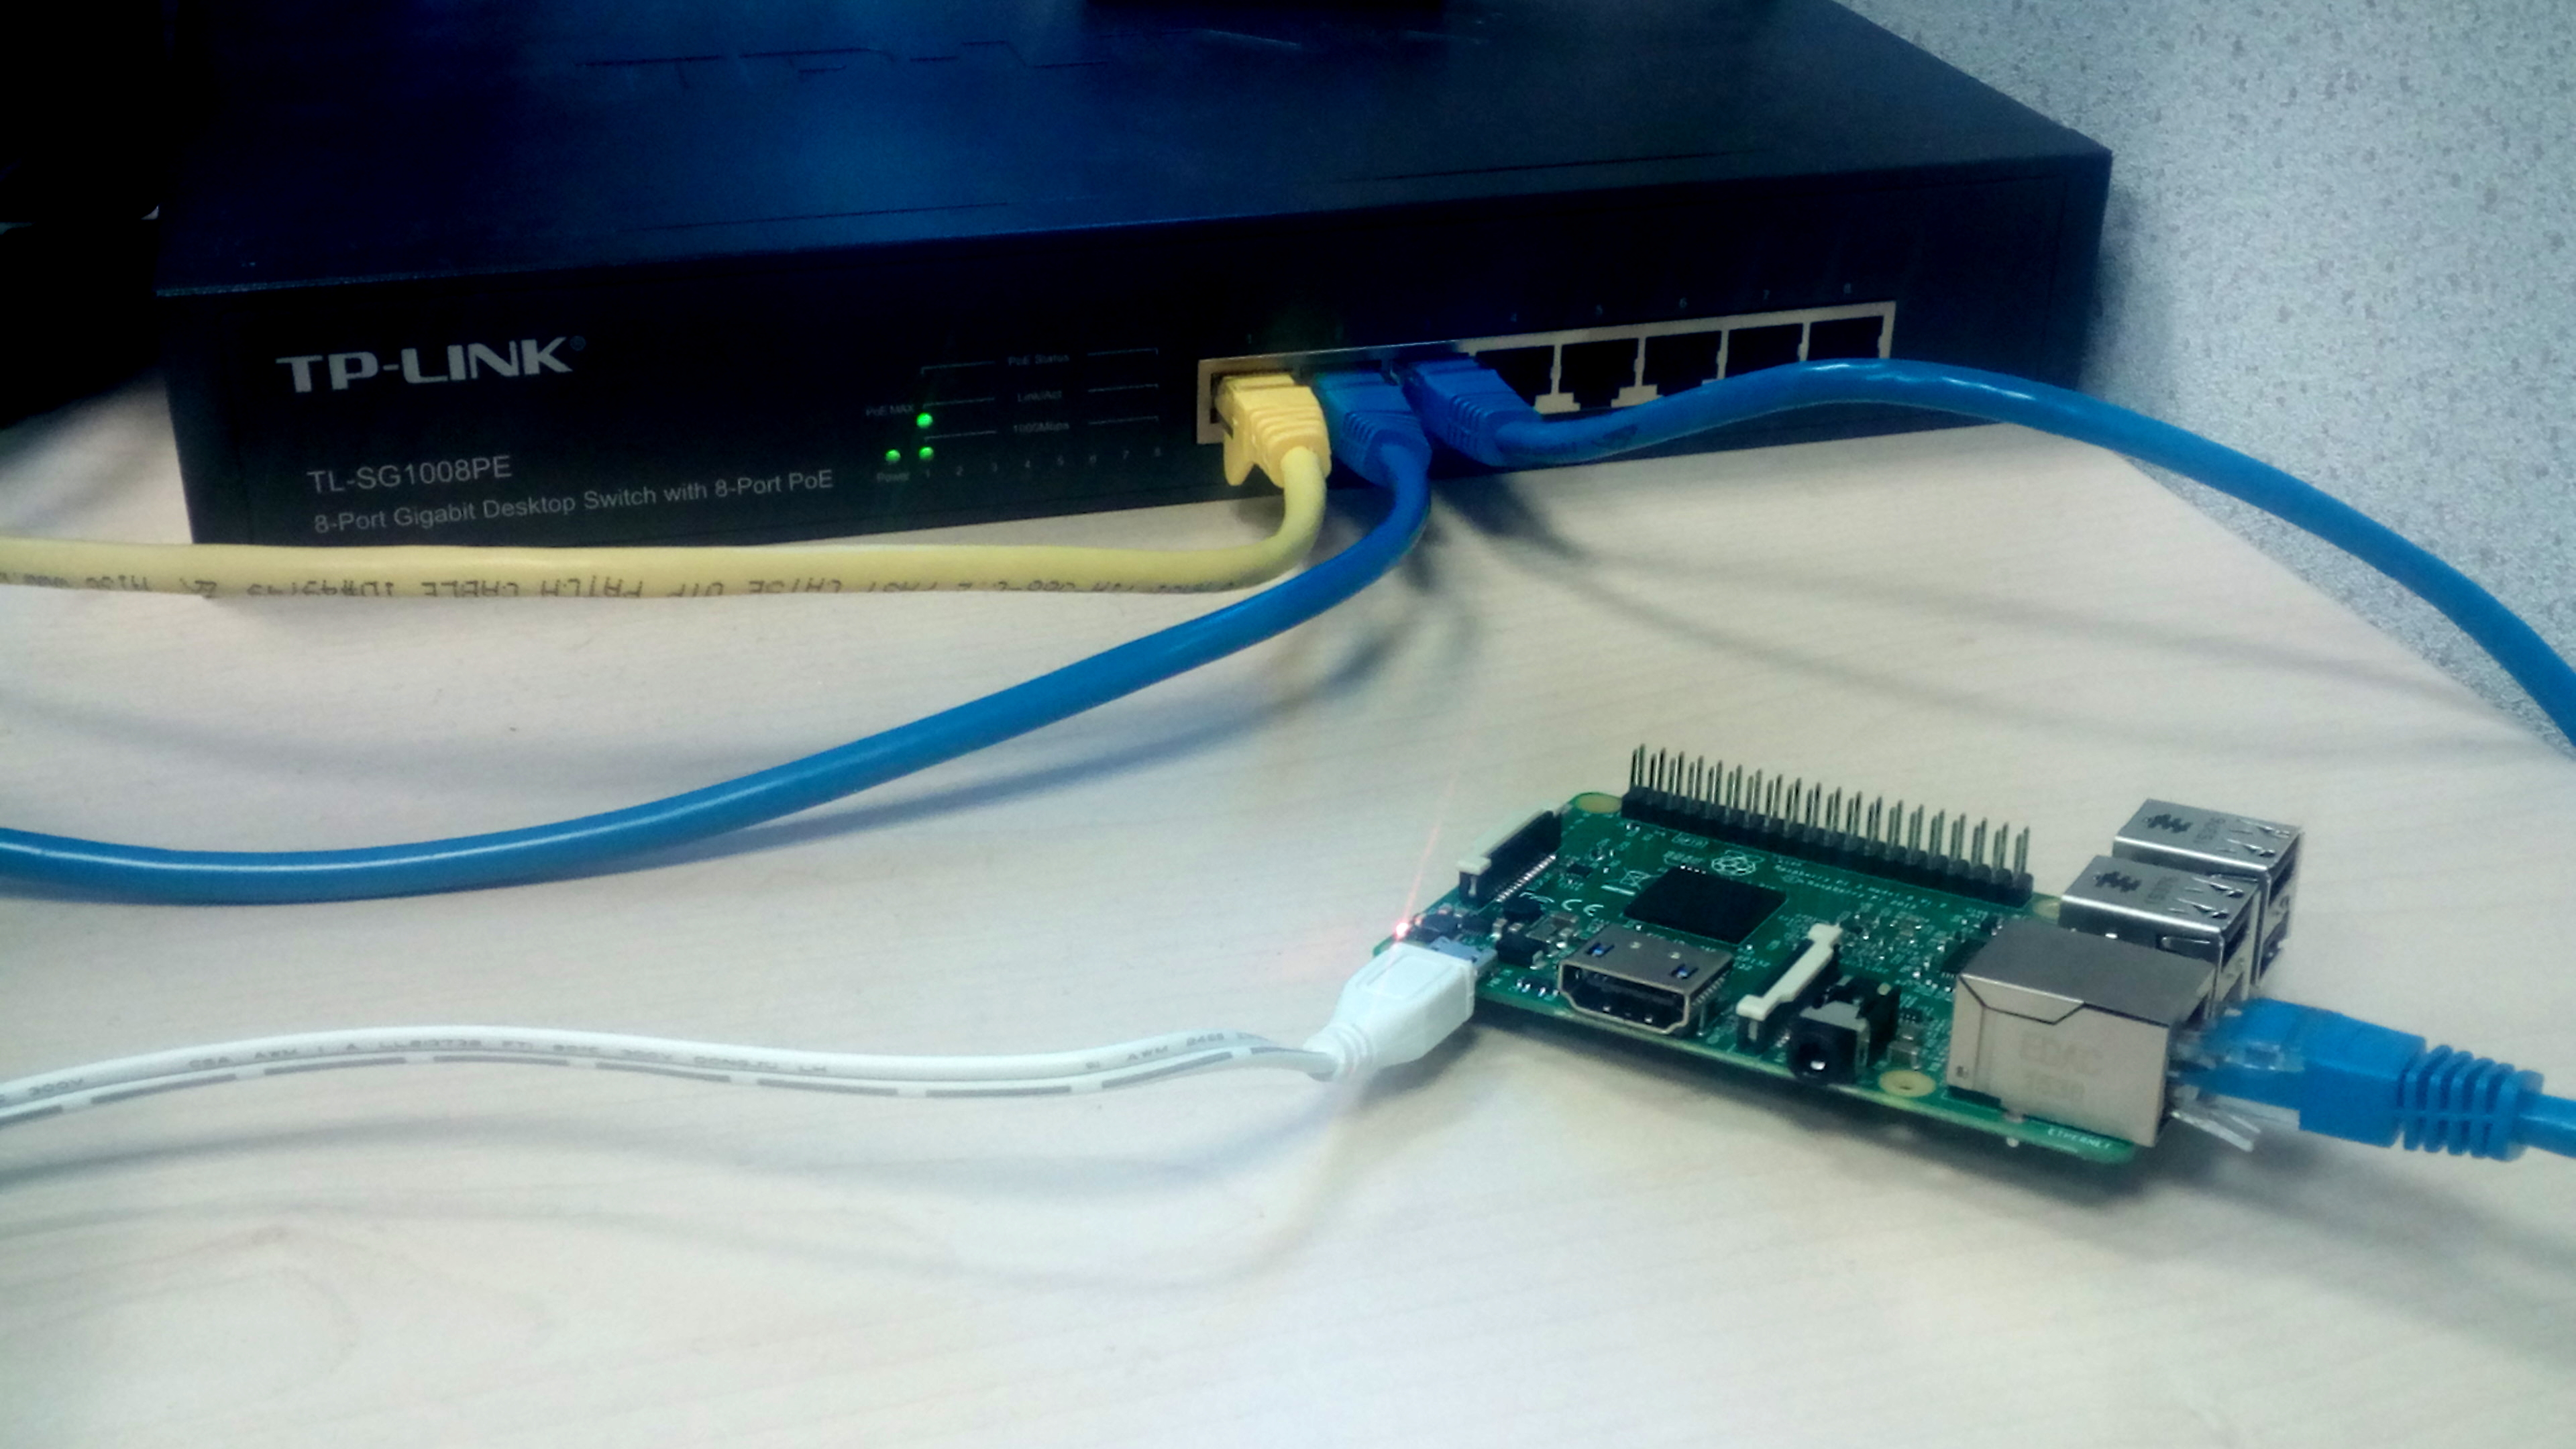
The Raspberry Pi, celebrated for its compact size and minimal energy consumption, is an ideal candidate for remote operations. A recurring need for users involves accessing their Raspberry Pi from a separate computer, irrespective of geographical location. Thankfully, there's a plethora of methods available to achieve remote access to your Raspberry Pi. Among these, two approaches stand out as the most frequently employed.
| Category | Information |
|---|---|
| Concept | Remote Access to Raspberry Pi |
| Common Methods | Remote Desktop, SSH |
| Date of Example Scenario | February 7, 2015 |
| Software Mentioned | Socketxp, VNC Connect, Pitunnel |
| Protocols Mentioned | RDP, SSH, MPD, DLNA, VPN |
| Hardware Mentioned | Raspberry Pi (specifically Pi 4 mentioned) |
| Example Scenario | Accessing Raspberry Pi's camera and media center remotely |
| Use Case | Remote management, control, and monitoring of IoT devices. |
| Essential Components | Internet Connection, IP Address |
| Security Consideration | VPN for secure access |
| Additional Functionality | Device Monitoring, Remote Terminal |
To illustrate one such technique, consider a scenario posted on February 7, 2015, at 6:09 PM involving remote desktop access over the internet. Success hinges on understanding the ports and IP addresses used by the camera and media center connected to the Raspberry Pi. Remote Desktop Protocol (RDP) access requires separate configuration unless the devices share the same IP address, and the router employs a Demilitarized Zone (DMZ) setup, routing all ports simultaneously rather than individually.
- Art Terkeursts Life Divorce Remarriage New Chapter
- Masafunone Legit Or Scam Exploring The Platform More
Once you've installed the necessary remote access software on your Raspberry Pi, you gain the ability to securely access the device from anywhere around the globe. Platforms like Socketxp, a well-regarded IoT remote access solution, streamline the management, control, monitoring, and remote access of a fleet of Raspberry Pi devices through a user-friendly web portal.
To pinpoint the IP address of your Raspberry Pi, examine the block where the 'general.type' field indicates 'wifi.' Within this block, the 'ipv4.address[1]' field contains the device's IPv4 address. To verify the connection via your browser, navigate to the device list, locate your Raspberry Pi's alias, and click on its name to establish a connection.
For audio enthusiasts, controlling your Raspberry Pi-based music player from an iPhone is entirely feasible. Simply install an MPD (Music Player Daemon) client on your iPhone. The client connects to the MPD server via your home network and Wi-Fi, enabling you to manage playlists, adjust volume, and more.
- Movie Streaming Guide Find Bollywood Hollywood Films Now
- Sotwe Browse Twitter Anonymously Tonneau Covers Guide
If your aim is to stream music from your Raspberry Pi to a DLNA-enabled TV, you'll need to install compatible software designed for this purpose. The possibilities are extensive and adaptable to your specific needs.
VNC (Virtual Network Computing) Connect offers a means to remotely log into your Raspberry Pi's full operating system. VNC has been a favored method for accessing computers remotely within the same network for quite some time. The evolution of VNC Connect has further enhanced its capabilities.
SSH (Secure Shell) stands as another powerful tool for enabling remote access to your Raspberry Pi. SSH grants you the ability to remotely connect to your Raspberry Pi over the internet, providing a convenient and secure way to manage and control your device from a distance.
Similar to the process of finding the IP address for browser access, you'll need to examine the configuration to use SSH effectively. Look for the 'general.type' field set to 'wifi' to locate the relevant IP address information.
Pitunnel offers a streamlined approach to remote access. With just an internet connection, Pitunnel manages the complexities of remote access, allowing you to interact with the projects you've built on your Raspberry Pi. The service includes a device monitor and remote terminal, and it allows for the creation of custom tunnels to access various services running on your Pi.
For users seeking file access beyond their local network, setting up Samba on a Raspberry Pi 4 is a common starting point. While Samba facilitates file sharing within the home network, extending this access to the wider internet requires further configuration.
Many users rely on SSH to remotely log into their Raspberry Pi. SSH provides command-line access from another computer, allowing for remote management and control. While SSH access from anywhere in the world is possible, initial configurations often focus on local network access.
When selecting a VPN (Virtual Private Network) for your Raspberry Pi, prioritize robust protection and efficient performance. The ideal Pi VPN service should offer strong encryption, a straightforward setup process, a broad network of VPN servers, and speeds that are fast enough to ensure a seamless experience.
Before diving into configuration procedures for enabling remote access, it's essential to understand the core benefits of a remote Raspberry Pi setup. Grasping these advantages underscores the value of investing the time and effort required.
Remote Access Techniques for Raspberry Pi: A Detailed Guide
Accessing a Raspberry Pi remotely opens up a plethora of opportunities, from managing a home server to controlling a sophisticated IoT deployment. Several techniques can be employed to achieve this, each with its own set of advantages and disadvantages. This guide delves into some of the most popular methods, providing a comprehensive understanding of how to effectively access your Raspberry Pi from anywhere in the world.
1. Secure Shell (SSH): The Command-Line Gateway
SSH is a network protocol that provides a secure way to access your Raspberry Pi's command line over an encrypted connection. It's a fundamental tool for remote administration and is often the first method users explore.
How it Works: SSH creates a secure tunnel between your computer and the Raspberry Pi, allowing you to execute commands and transfer files as if you were directly connected to the device. This is achieved through cryptographic techniques that ensure the confidentiality and integrity of the data exchanged.
Setup:
- Enable SSH: On your Raspberry Pi, enable the SSH server. This can usually be done through the Raspberry Pi Configuration tool (
sudo raspi-config) or by creating an empty file namedsshin the boot partition of your SD card. - Install an SSH Client: On your computer, install an SSH client. Popular options include PuTTY (Windows), Terminal (macOS and Linux), and Termius (cross-platform).
- Connect: Use the SSH client to connect to your Raspberry Pi using its IP address and the default username (
pi) and password (raspberry). Important: Change the default password for security reasons.
Advantages:
- Security: SSH provides a secure, encrypted connection, protecting your data from eavesdropping.
- Lightweight: SSH is a relatively lightweight protocol, making it suitable for low-bandwidth connections.
- Command-Line Access: Provides direct access to the Raspberry Pi's command line, allowing for full control over the system.
Disadvantages:
- Command-Line Interface: Requires familiarity with command-line commands.
- No GUI: Does not provide a graphical user interface (GUI) for interacting with the Raspberry Pi.
2. Virtual Network Computing (VNC): Remote Desktop Access
VNC allows you to remotely access the graphical desktop environment of your Raspberry Pi, providing a visual interface for interacting with applications and files.
How it Works: VNC works by sharing the Raspberry Pi's screen with your computer and allowing you to control the mouse and keyboard remotely. This creates a virtual desktop experience, as if you were sitting directly in front of the Raspberry Pi.
Setup:
- Install a VNC Server: On your Raspberry Pi, install a VNC server such as TightVNC or RealVNC.
- Install a VNC Client: On your computer, install a VNC client such as RealVNC Viewer or TigerVNC.
- Configure the VNC Server: Configure the VNC server to start automatically when the Raspberry Pi boots.
- Connect: Use the VNC client to connect to your Raspberry Pi using its IP address and the VNC server's port number (usually 5900).
Advantages:
- Graphical User Interface: Provides a visual interface for interacting with the Raspberry Pi.
- Ease of Use: Easier to use for users who are not familiar with the command line.
- Remote Application Access: Allows you to run graphical applications remotely.
Disadvantages:
- Resource Intensive: VNC can be resource-intensive, especially on low-powered Raspberry Pi models.
- Slower Performance: VNC connections can be slower than SSH connections, especially over high-latency networks.
- Security Concerns: VNC is not inherently secure and should be used with a VPN or other security measures.
3. Remote Desktop Protocol (RDP): A Windows-Centric Solution
RDP is a proprietary protocol developed by Microsoft that allows you to remotely access the graphical desktop environment of a computer. While primarily used in Windows environments, RDP can also be used to access a Raspberry Pi.
How it Works: RDP works similarly to VNC, sharing the Raspberry Pi's screen with your computer and allowing you to control the mouse and keyboard remotely. However, RDP is optimized for Windows environments and offers better performance on Windows systems.
Setup:
- Install an RDP Server: On your Raspberry Pi, install an RDP server such as xrdp.
- Enable RDP: Enable RDP on your Raspberry Pi.
- Connect: Use the Remote Desktop Connection client on your Windows computer to connect to your Raspberry Pi using its IP address.
Advantages:
- Performance: RDP offers better performance than VNC on Windows systems.
- Integration: RDP is well-integrated with Windows environments.
Disadvantages:
- Windows-Centric: RDP is primarily designed for Windows environments.
- Security Concerns: RDP is not inherently secure and should be used with a VPN or other security measures.
4. Web-Based Remote Access: Leveraging Web Technologies
Web-based remote access solutions allow you to access your Raspberry Pi through a web browser, eliminating the need for specialized client software. These solutions typically involve installing a web server on the Raspberry Pi and using web technologies such as HTML, CSS, and JavaScript to create a remote access interface.
How it Works: A web server running on the Raspberry Pi serves web pages to your browser, allowing you to interact with the Raspberry Pi through a graphical interface or a command-line terminal emulator.
Setup:
- Install a Web Server: On your Raspberry Pi, install a web server such as Apache or Nginx.
- Develop a Web Interface: Develop a web interface using HTML, CSS, and JavaScript to interact with the Raspberry Pi. This could involve creating a simple control panel or a terminal emulator.
- Configure Port Forwarding: Configure your router to forward traffic on port 80 (or another port of your choice) to the Raspberry Pi's IP address.
- Access the Interface: Access the web interface through your browser using the Raspberry Pi's public IP address or domain name.
Advantages:
- Platform Independence: Web-based remote access can be accessed from any device with a web browser.
- No Client Software: No need to install specialized client software.
- Customizable: Web interfaces can be highly customized to meet specific needs.
Disadvantages:
- Development Effort: Requires development effort to create the web interface.
- Security Concerns: Web-based remote access can be vulnerable to security threats if not properly secured.
5. Cloud-Based Remote Access: Leveraging Third-Party Services
Cloud-based remote access solutions leverage third-party services to provide a secure and convenient way to access your Raspberry Pi. These services typically offer features such as remote terminal access, file transfer, and device monitoring.
How it Works: A client application running on the Raspberry Pi connects to the cloud-based service, creating a secure tunnel through which you can access the device. The cloud-based service handles the complexities of network configuration and security, simplifying the remote access process.
Examples:
- Dataplicity: Dataplicity provides a secure and easy-to-use remote access solution for Raspberry Pi devices.
- Weaved: Weaved offers a remote access platform for IoT devices, including Raspberry Pi.
- Remote.it: Remote.it provides a secure and reliable way to access your Raspberry Pi from anywhere in the world.
Advantages:
- Ease of Use: Cloud-based solutions are typically easy to set up and use.
- Security: Cloud-based services often provide robust security features.
- Additional Features: Many cloud-based services offer additional features such as device monitoring and file transfer.
Disadvantages:
- Dependency on Third-Party Service: Relies on a third-party service, which could be subject to outages or security breaches.
- Cost: Cloud-based services may charge a fee for their services.
Securing Your Remote Access: A Critical Consideration
Regardless of the remote access method you choose, it's crucial to implement security measures to protect your Raspberry Pi from unauthorized access. Here are some essential security tips:
- Change the Default Password: The default password for the
piuser is well-known and should be changed immediately. - Use SSH Keys: SSH keys provide a more secure way to authenticate to your Raspberry Pi than passwords.
- Enable the Firewall: The
ufwfirewall can be used to restrict access to your Raspberry Pi. - Keep Your System Up-to-Date: Regularly update your Raspberry Pi's operating system and software to patch security vulnerabilities.
- Use a VPN: A VPN creates an encrypted tunnel between your computer and the Raspberry Pi, protecting your data from eavesdropping.
- Disable Password Authentication for SSH: Once you have SSH keys set up, disable password authentication to prevent brute-force attacks.
- Port Forwarding: If using port forwarding, only forward the necessary ports and consider changing the default SSH port (22) to a non-standard port.
- Two-Factor Authentication (2FA): Implement 2FA for an added layer of security, requiring a code from your phone in addition to your password.
Troubleshooting Common Issues
Setting up remote access can sometimes be challenging. Here are some common issues and their solutions:
- Connection Refused: This usually indicates that the SSH server or VNC server is not running on the Raspberry Pi.
- Authentication Failed: This usually indicates that you are using the wrong username or password.
- Slow Performance: This can be caused by a slow network connection or a resource-intensive remote access method.
- Firewall Issues: Ensure that your firewall is not blocking the ports required for remote access.
- Incorrect IP Address: Double-check that you are using the correct IP address for your Raspberry Pi. If the IP address is dynamically assigned by your router, consider setting up a static IP address for the Raspberry Pi.
- DNS Resolution Problems: If you are using a domain name to access your Raspberry Pi, ensure that the DNS record is correctly configured.
The Power of Remote Access: Unleashing the Raspberry Pi's Potential
Remote access unlocks a world of possibilities for your Raspberry Pi, transforming it from a simple hobbyist tool into a powerful remote deployment solution. Whether you're managing a home server, controlling a robotic arm, or monitoring a remote sensor network, the ability to remotely access your Raspberry Pi empowers you to build and deploy innovative solutions.
Here are some exciting use cases for remote Raspberry Pi access:
- Home Automation: Control lights, appliances, and security systems from anywhere in the world.
- Media Server: Stream music and videos from your Raspberry Pi to any device on your network or over the internet.
- Security Camera: Monitor your home or business remotely using a Raspberry Pi-based security camera.
- Remote Sensor Monitoring: Collect and analyze data from remote sensors, such as temperature, humidity, and air quality sensors.
- Robotics: Control and monitor robots remotely.
- IoT Projects: Manage and control IoT devices remotely.
- Edge Computing: Perform data processing and analysis at the edge of the network, reducing latency and bandwidth usage.
- Remote Education: Access educational resources and labs remotely.
- Digital Signage: Manage and update digital signage displays remotely.
- Gaming: Play classic games on your Raspberry Pi remotely.
In conclusion, "Accessing raspberry pi from internet" is a pivotal aspect of utilizing this versatile device to its fullest potential. By understanding the various methods available, implementing robust security measures, and exploring the vast array of use cases, you can transform your Raspberry Pi into a powerful tool for innovation and remote deployment. The flexibility and affordability of the Raspberry Pi, combined with the power of remote access, make it an ideal platform for a wide range of applications, from home automation to industrial automation.
- Best Ways Where To Watch Movies Online Streaming Guide More
- Tausha Kutcher Ashton Kutchers Sister Life Career Family
How To Access Raspberry Pi From Internet Raspberry
Access Raspberry Pi From Internet Raspberry

Access Your Raspberry Pi Desktop from Anywhere with Internet YouTube
